This
Tiny Getaway Cottage was built for $1,400

|
|
Here's
a late summer 1999 image of our little project cabin. It only took us
three weeks to go from clearing land to sewing curtains. Did you know
that tarpaper will last as an exterior wall finish for about six years?
Boy, the pressure's off now! We have the siding yet to do. Well, maybe
next summer...
During the Fall we installed a tiny wood range we got at the recycling center for $30. For $8 more we also picked up some stovepipe and a section of insulated flue to go through the roof. Works great, even has a little warming oven. Heats the place with a handful of twigs. |

The rest of the story....
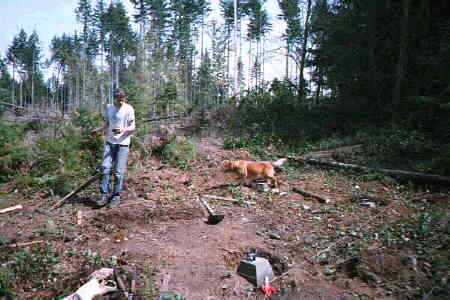
My two sons and I built a 10' by 14' teenagers cottage out on the back of our five acres (scroll down for step-by-step pictures). We worked part time for three weeks and spent about $1,400. The little house uses standard construction materials, is well winterized, has lots of sunny windows and could easily last 50 to 100 years with normal maintenance. It was built using a simple post and pier foundation.
This is an updated Thoreau type of house — sufficient for basic comfort and shelter, but simple enough so as to leave you living in nature rather than detached from it. Since the foundation required so little work, we were able to do the clearing and build the foundation in one day with only hand tools. Pretty low impact. I think Henry would have liked it.
Our little cottage, when done, will be set-up to be totally self-sufficient with a rainwater collection system (and drinking water filter), tiny wood stove and a composting toilet. It will also have a 12-volt solar and battery powered electrical system for lights and a few small technology devices. If all the computers go dead on January 1, 2000 as some people predict we might all be moving in!
This type of house makes a great getaway cottage or wilderness hide-a-way. And it's a fine family building project since anyone between the ages of 10 and 70 can work on it and kids don't even get bored since nothing ever lasts very long!
Below are some of the features of the place.
- The structure is easily modified for different sizes and types of roofs
- Very low impact construction. No digging. No poured concrete. Everything can be done with hand tools.
- All materials can be hand carried to the site.
(No road needed. We can carried everything down a narrow trail.)- Advanced framing uses standard 2x4s and 2x6s to their resource-efficient best.
(This easy to build construction system also increases the energy efficiency and cuts costs since there is less wood. Use this on your "big house" too.)- All materials can be purchased at any local lumber yard.
 |
Concrete foundation piers are laid out. Preformed pier blocks sit on concrete pavers to spread the weight out at the bottom of the foundation holes. Posts will go up from these metal holders and support the main beams. |
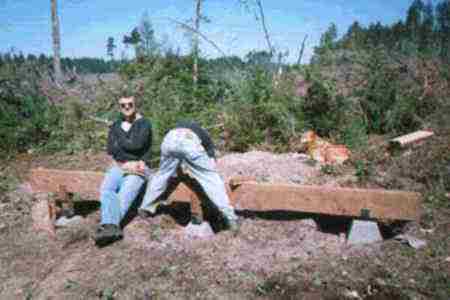 |
The first beam is in place. Foreman and dog are resting. Note the short posts supporting the beam. (No need to level the foundation, you can build on nearly any slope. Just level the beam!) |
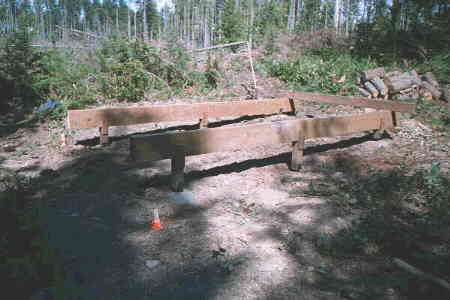 |
Both main beams are now up and the first floor joist is in place. Notice that the joists cantilevers over the ends of each beam. This makes the floor joists much stronger! |
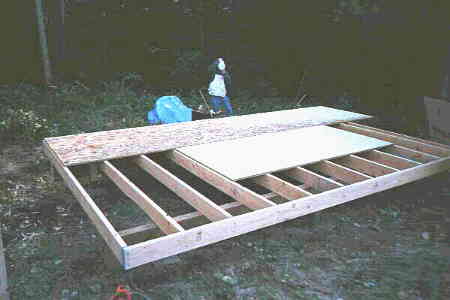 |
Subflooring in 4'x8' sheets goes down over the joists — fast and solid. |
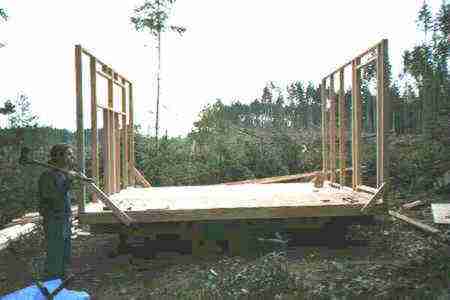 |
West and east walls are framed up and braced. These were laid out on the deck with the openings sized to fit the windows. A happy woodsman stands ready to chop firewood. |
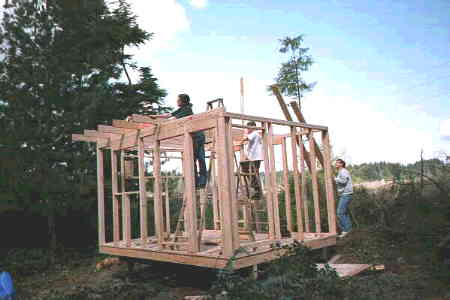 |
Walls are all framed and roof rafters are going up. Note that we chose the (almost) flat roof plan. Two extra plates on the south side lift the rafters 3" to provide drainage on what will be the future roof deck. |
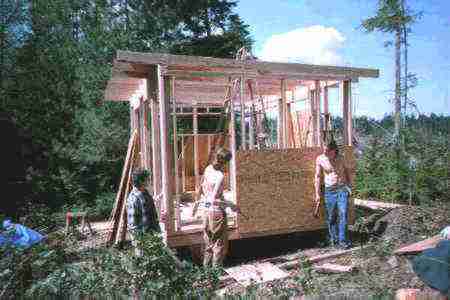 |
Roof rafters are up and we start nailing off wall sheathing. (Notice all the high-priced help!) |
 |
Tarpaper
is on the roof and we're out of the weather 6 days after breaking
ground and clearing the site with hand tools. The framing never got
wet. Pretty amazing for April in Puget Sound! So far we've spent $978. |
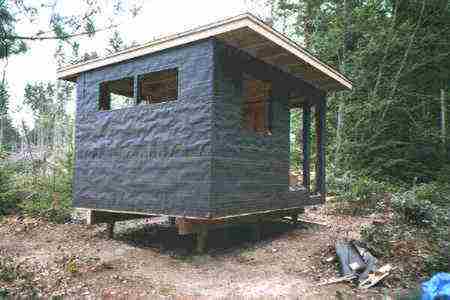 |
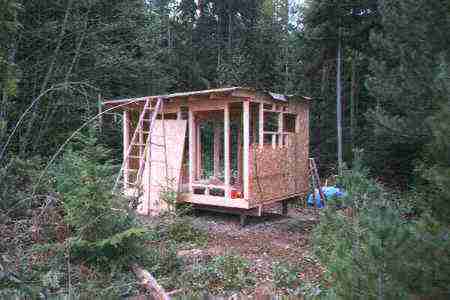
Day
11; The walls are sheathed and tarpaper is up. Roll roofing is
installed on the roof deck and the view is GREAT. Recent Update: You can probably tell from the resolution on these photos that this cabin was built awhile ago. Still, after eight years it has no leaks and the roof deck has worked great. There is still no siding (just tarpaper) and the building is used for storage - of my kids stuff! Many folks have now built their own versions of this little cabin (example by a better builder than us). |
| •
Click for the Little House Plans
this cabin used.
• Click to return to the CountryPlans Home page and see other small home plans. • Click the Owner Builder Gallery to see stories of other more abitious projects. • Click The Forum to ask questions about building cabins & small houses. |